Friday, May 27, 2016

May Meeting Recap: End of the Year Celebration & Photobooth Fun


The 2015 - 2016 MOPS year has come to an end!  We have loved "Flourishing Fiercely" with y'all and wanted to celebrate a great year of great mamas!!!  Read on for a recap as well as some absolutely awesome pics from our "MOPS Photobooth" at the meeting!  Such fun!


Devotion

Katie, maker of these beautiful cookies, shared a devotion with us about having an eternal perspective.  Her words were timely and wise and you can check back soon for a post with the full devotion.  Thanks for sharing your heart and cookies with us Katie!!!

Video

Sarah put together a great video montage of pictures from throughout our 2015 - 2016 year.  We'll post the video soon on the blog so keep an eye out for that!


Craft

We put together beautiful flower canvases this month - perfect for our Fierce Flourishing theme!


Instructions:
  • Choose canvas and petals. You will also need 1 circle for the center of your flower.  
  • Layout your flower petals on your canvas in the design/order that you like. For the edges, you can wrap around the canvas, or trim flush with scissors. 
  • Removing 2-3 petals at a time, use your sponge brush to apply a VERY THIN layer of glue to the canvas. Replace your petals and press to seal. 
  • Continue this process until all of your petals have been glued in place. 
  • Use a Sharpie marker to add writing to your canvas if you wish.
  • Using a VERY THIN layer of glue, cover the entire front of your canvas to seal the petals, starting with the first area that should be dry by now. 
  • Note:  If you see any petals not sticking or bubbling up, smooth these and add more glue if necessary as you go


 And here are a few examples of finished canvases that our talented moms created...
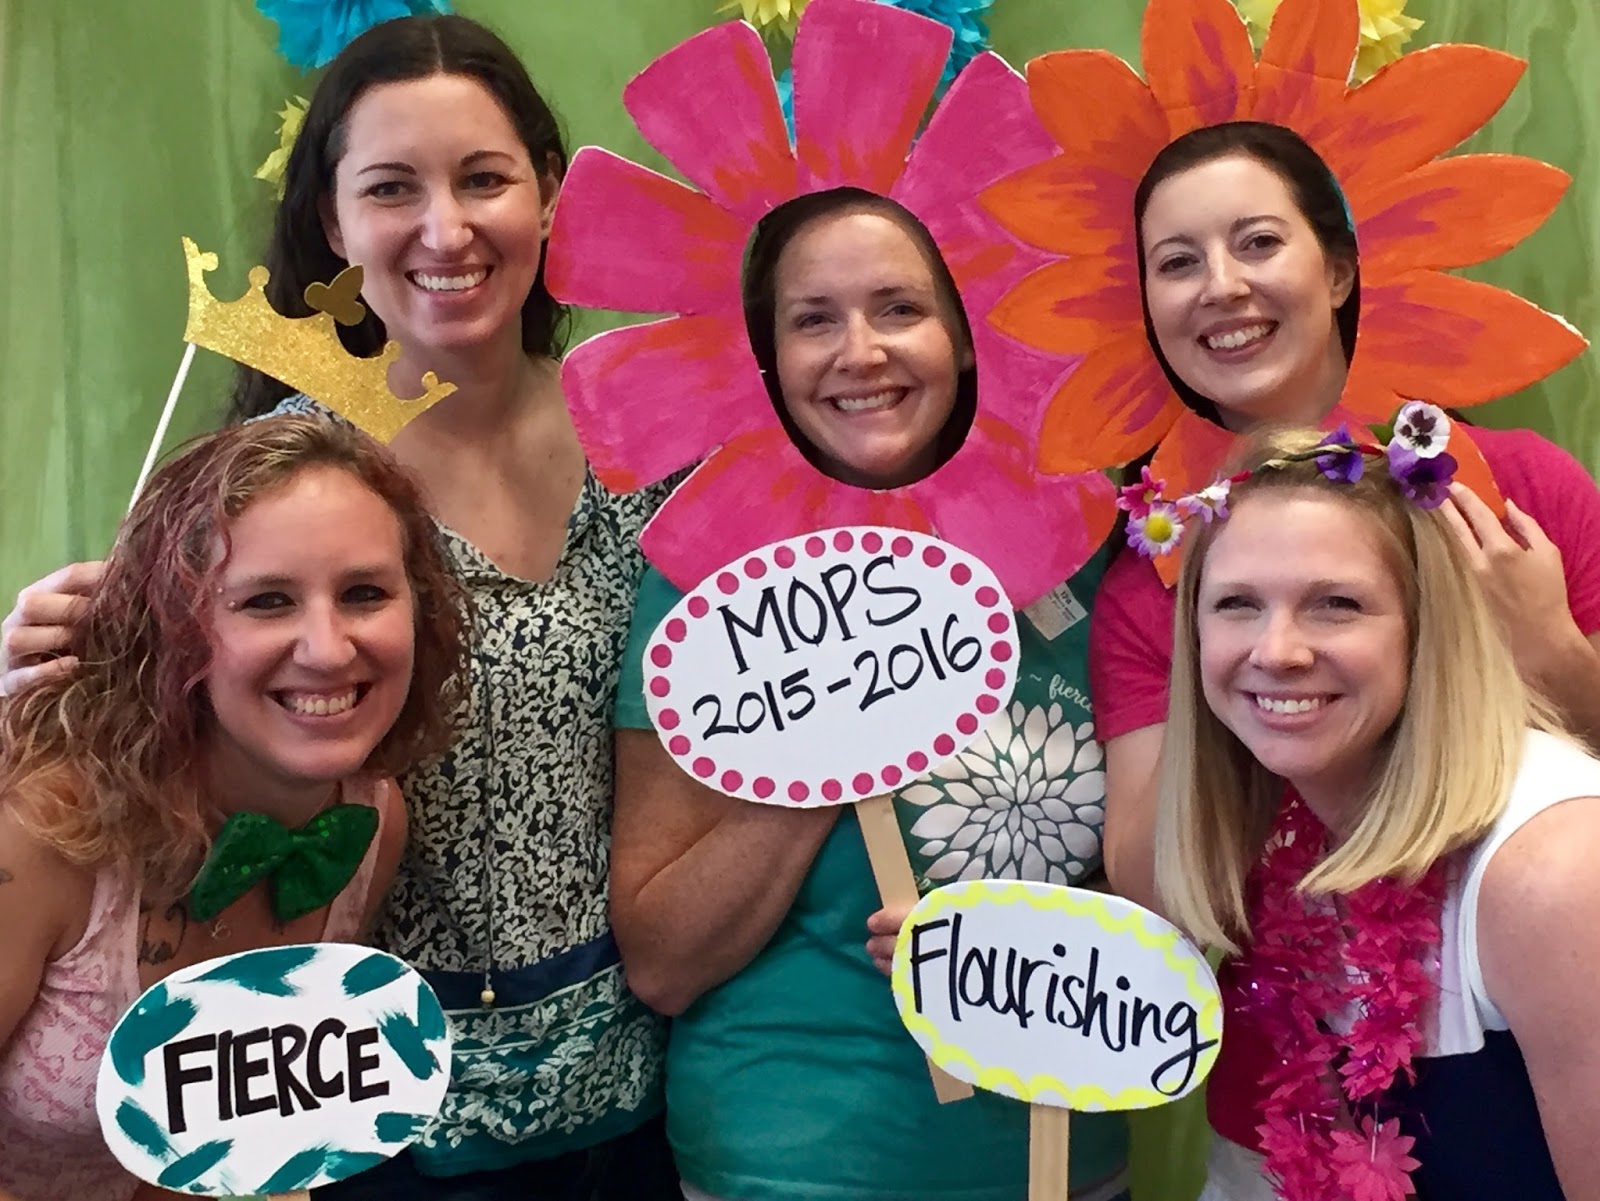


Photobooth Fun

Y'all.  Our moms are THE BEST.  Look and see for yourself...


Thanks to all our fabulous MOPS mamas for a great year!  We love you fiercely flourishing women!!!

Hope to see y'all over the summer and can't wait to see you in the fall for another year of MOPS!!!  xo!


Tuesday, May 24, 2016

Tasty Tuesday: Moms Night Out Edition - Shrimp & Grits


Okay friends!  Here it is... the 3rd installment and final recipes from our Moms Night Out Cooking class last month.  Can I just say how amazing this is???  The crazy thing is that I don't even like shrimp OR grits, but somehow you put them together with the other meats and seasoning and sauce and it's just HEAVENLY.  Try this at home... you won't be sorry! 

**Read below for 3 separate recipes:  The Charleston-style grits, shrimp & andouille topping, and the "Essence" seasoning mix.  Thanks to Sonia for sharing her recipes and cooking prowess with us!

Shrimp and Andouille Over Charleston-Style Grits (adapted from Emeril)


Charleston-Style Grits Ingredients:

  • 6 cups water
  • salt to taste
  • 1 1/2 cups quick cooking or old fashioned grits (NOT instant)
  • 2 cups milk (whole milk will make it richer)
  • 1 cup heavy cream
  • 8 tablespoons butter
  • freshly ground black pepper to taste

Directions for Grits:

In large, heavy saucepan bring the water to a boil.  Add a generous teaspoon of salt and the grits and stir with a wooden spoon to combine.  When grits thicken, add milk, cream and butter and return to a boil.  Reduce heat and simmer, cover saucepan and cook for 45 minutes to one hour, until grits are tender, smooth, and creamy.  Taste and season with salt and pepper.  Keep covered and warm until ready to serve.   Yield:  4 to 6 servings

NOTE:  Start grits one hour before starting the shrimp, fish & andouille as it takes 45 minutes to cook.


Shrimp, Fish & Andouille Mix Ingredients:

  • 2 pounds medium shrimp, peeled and deveined
  • 1-2 pounds chunked mahi mahi (or firm white fish)
  • "Essence" Emeril's Creole Seasoning (buy in store or see recipe below)
  • Salt
  • 8 ounces chicken andouille sausage (or can use regular andouille)
  • 1 tablespoon vegetable oil
  • 1 cup finely chopped yellow onion
  • 1/2 cup finely chopped red bell pepper
  • 1/2 cup finely chopped green bell pepper
  • 1 teaspoon minced garlic
  • 1 1/2 cups chicken broth (or canned low sodium chicken stock)
  • 1/4 cup heavy cream
  • 2 tablespoons finely chopped green onions
  • 2 tablespoons minced parsley

Directions:

Season the shrimp and mahi with Essence and salt.  Heat a large, heavy saute pan over medium-high heat and sear the andouille, cooking for about 3 minutes.  Remove the andouille to a plate, and add the shrimp and fish to the pan, cook for 2-3 minutes.  Remove the shrimp and fish from the pan, add and heat the oil.  Add the onion and bell peppers and cook until soft, about 3 minutes.  Add 2 tablespoons Essence to the pan, stirring well, then add the garlic and cook 1 minute.  Add the chicken broth to the pan and cook until reduced slightly, about 5 minutes. 

Stir the cream, green onions and parsley into the sauce and return the andouille, fish and shrimp to the pan.  Return sauce to a simmer and continue to cook until reduced slightly.  Stir well and season to taste with salt and pepper.  Serve over Charleston-style grits. 


 "Essence" (Emeril's Creole Seasoning)

  • 2 1/2 tablespoons paprika
  • 2 tablespoons salt
  • 2 tablespoons garlic powder
  • 1 tablespoon black pepper
  • 1 tablespoon onion powder
  • 1 tablespoon cayenne pepper
  • 1 tablespoon dried leaf oregano
  • 1 tablespoon dried thyme


Tuesday, May 17, 2016

Tasty Tuesday: Moms Night Out Edition - Chicken Stir Fry

For the second dish of the Moms Night Out Cooking Class, Sonia prepared a delicious chicken stir fry.  She explained how versatile this dish can be, as you can use basically any vegetables you have on hand and chicken or fish or shrimp or all three!  She also shared the recipe for "The BEST Stir Fry Sauce", (which you can make and keep in your fridge for a week) so read on to check out that homemade goodness too!  


Stir Fry Ingredients

2 cups white rice
1-2 Tbsp olive oil
2-3 chicken breasts or 4 chicken thighs, sliced thin, OR 1/2 lb shrimp, OR 1/2 lb fish, OR all three!
1 package snow peas
1/2 cup green bell peppers, sliced
1/2 cup red bell peppers, sliced
1/2 cup sliced onion or can use green onions (if you use green onions add near end of cooking)
1-2 cups broccoli slaw or 1 cup broccoli florets (if not using slaw)
1/2 cup carrots. sliced on bias (if not using slaw)
Stir fry sauce (recipe below)

Directions

  1. Place 2 cups white rice in rice cooker with 3 1/2 cups water and turn on. (Or prepare conventionally on stove top according to directions on package.)
  2. Heat oil in wok or skillet, add protein of choice until cooked.  Set aside.
  3. Cook vegetables on medium to medium high setting in oil starting with onion, carrots, then add broccoli, peppers and snow peas until tender.  If using broccoli slaw instead of sliced carrots and broccoli florets, add slaw last after other vegetables are slightly tender. (Slaw cooks faster.)
  4. Add vegetables to protein and add stir fry sauce.  Cook for 3 minutes until sauce thickens.  
  5. Serve over white rice.  
* Note:  You can add pretty much any vegetable to stir fry.  Use what you have at home for a quick school night meal.  Also, you can buy ingredients planning to use them for more than one meal.  For example, you can make fish or shrimp tacos and then use some of the same ingredients (fish, shrimp, broccoli slaw) to make stir fry.

Stir Fry Sauce Ingredients

(AUTHOR:  Tastes Lovely)

1/2 cup low sodium soy sauce (or Tamari if gluten free)
1/2 cup chicken broth (or vegetable broth if vegan)
1 Tbsp corn starch (or arrow root)
1 Tbsp honey (or agave nectar if vegan)
1 teaspoon sesame seed oil
1 teaspoon rice vinegar
2 inch piece of ginger, peeled and grated or finely minced (or 1 Tbsp ginger paste in a squeeze tube, or 1 Tbsp ground powdered ginger)
2 garlic cloves, grated or finely minced

* Note: can add 1 - 2 Tbsp brown sugar if you want it sweeter

Mix together and keep in jar in fridge for a week.  Shake before using. 


Tuesday, May 10, 2016

Tasty Tuesday: Moms Night Out Edition - Shrimp & Fish Tacos

Below is one of the recipes we enjoyed at the MNO cooking class hosted by Sonia.  Look for the other recipes in upcoming editions of Tasty Tuesday.   


I've got to be honest with you... I am not a seafood lover.  My favorite part of a seafood platter is usually the hush puppies.  But these tacos are absolutely scrumptious!  Both the shrimp and fish tacos are wonderfully delicious and quite easy to make.  Try something new with your family on your next Taco Tuesday and make Sonia's awesome tacos!!!

Ingredients

1 lb frozen or fresh shrimp, deveined with tail off
4 fillets of mahimahi or swai (any firm white fish works well), cut into same sized pieces as shrimp
2 Tbsp "Emeril's Original Essence" seasoning, or for more kick use Old Bay seasoning
1 bag flour tortillas (fajita or taco size)
1 bag broccoli slaw
1-3 Tbsp light mayo (or Greek yogurt) depending on if using half or whole bag broccoli slaw
Lime wedges
Splash of white vinegar
Salt & Pepper to taste

Directions

  1. Put thawed shrimp in bowl and sprinkle with Essence and toss, then return to fridge to marinate for 1 hour more.  Repeat same process for fish pieces. 
  2.  Empty broccoli slaw in bowl, use half of bag if just using for tacos and not a side dish. 
  3. Add mayo, vinegar, salt and pepper and lime and toss.  (Should be wet but not drenched in mayo.)  Cover and return to fridge until serving.  
  4. Heat skillet or griddle to medium/medium high and add 1-2 T olive oil.  When heated, add shrimp and fish, adding more seasoning if you want more kick.  Cook until shrimp is no longer opaque and fish is flaky white.  (This takes around 7 mins.)
  5. Heat tortillas in microwave wrapped in damp towel.  When ready, add cooked shrimp and/or fish, top with broccoli slaw, squeeze a wedge of lime on top of taco and enjoy! 

Friday, May 6, 2016

Craft Tutorial: Pea Pod Pendant


We made the cutest necklaces at our last meeting!  Much like the Bird's Nest necklaces of a few years ago (click here for a link to that tutorial), these Pea Pod Pendants are personalized for each mom.  Every Pea Pod looks a little different, unique in the number and color of "peas" just as each of our families are unique!  You can choose the same number of beads as children you have, or make a pea pod with beads representing each of your family members.  And the color combinations are limitless!  It only takes a few minutes to put together a pendant that can be treasured for years. 


Supplies

  • 16 - 18 inches of wire (22-26 guage)
  • Headpin
  • Split Ring
  • 6mm pearl beads (color and number of your choice)

Instructions

  1. Find the center of your wire and wrap it around your headpin, tightly at the base of the pin, so that you have a piece on the left and a piece on the right of the headpin.  
  2. Slide on your beads.  The base of the pin will be the bottom of your pendant.  
  3. Working back and forth, left and right, alternate bringing the wire up the side of the beads, around the pin and then back down.  When you get to the base of the pin you will need to slide the beads up so there is room to wrap around the pin.  
  4. Hold your wire tightly to the sides of the beads, adjusting as you go, and continue going up and around, down and around, for the left and right sides of your wire.  Stay consistent with the direction you wrap your wire around the pin - it's neater!  
  5. When you are satisfied with the wrapping, clip your wires at the top of the pin leaving at least an inch if you want curly "vines".  Use the round tip of pliers to snail wrap the curly Q's.  
  6. The top of your headpin needs to be bent into a loop with pliers.  Have a second pair of hands help with this if possible.  Make a loop and twist extra wire around to hide.  
  7. Add your split ring, hang on chain, and enjoy! 


Tuesday, May 3, 2016

Tasty Tuesday: Sopapilla Cheesecake

Need a sweet treat to finish off your Cinco De Mayo meal?  
Try these yummy Sopapilla Cheesecake Bars... so easy and so delicioso!!!

photo source


Ingredients

  • (1) 8 oz. package cream cheese
  • 1 cup sugar
  • 1 tsp vanilla extract
  • (2) 8 oz. packages crescent rolls
  • 1/2 cup melted butter
  • 1/2 cup sugar
  • 1 tsp cinnamon 

Directions

Preheat oven to 350 degrees and spray 9 x 13 baking dish with non-stick cooking spray.
Soften cream cheese and beat together with 1 cup sugar and vanilla.
Press 1 package of crescent rolls in bottom of dish and spread cream cheese over top.
Cover with other package of crescent rolls and brush top with butter.
Mix 1/2 cup sugar and cinnamon and sprinkle on top of butter.
Bake 30 minutes.